Setup VPN Server on Android Phone: A Comprehensive Guide
In today’s digital world, privacy and security are paramount for every internet user. One of the most effective ways to safeguard your online presence is by using a Virtual Private Network (VPN). This article provides an in-depth guide on how to setup VPN server on Android phone, equipping you with the necessary knowledge to enhance your mobile internet experience.
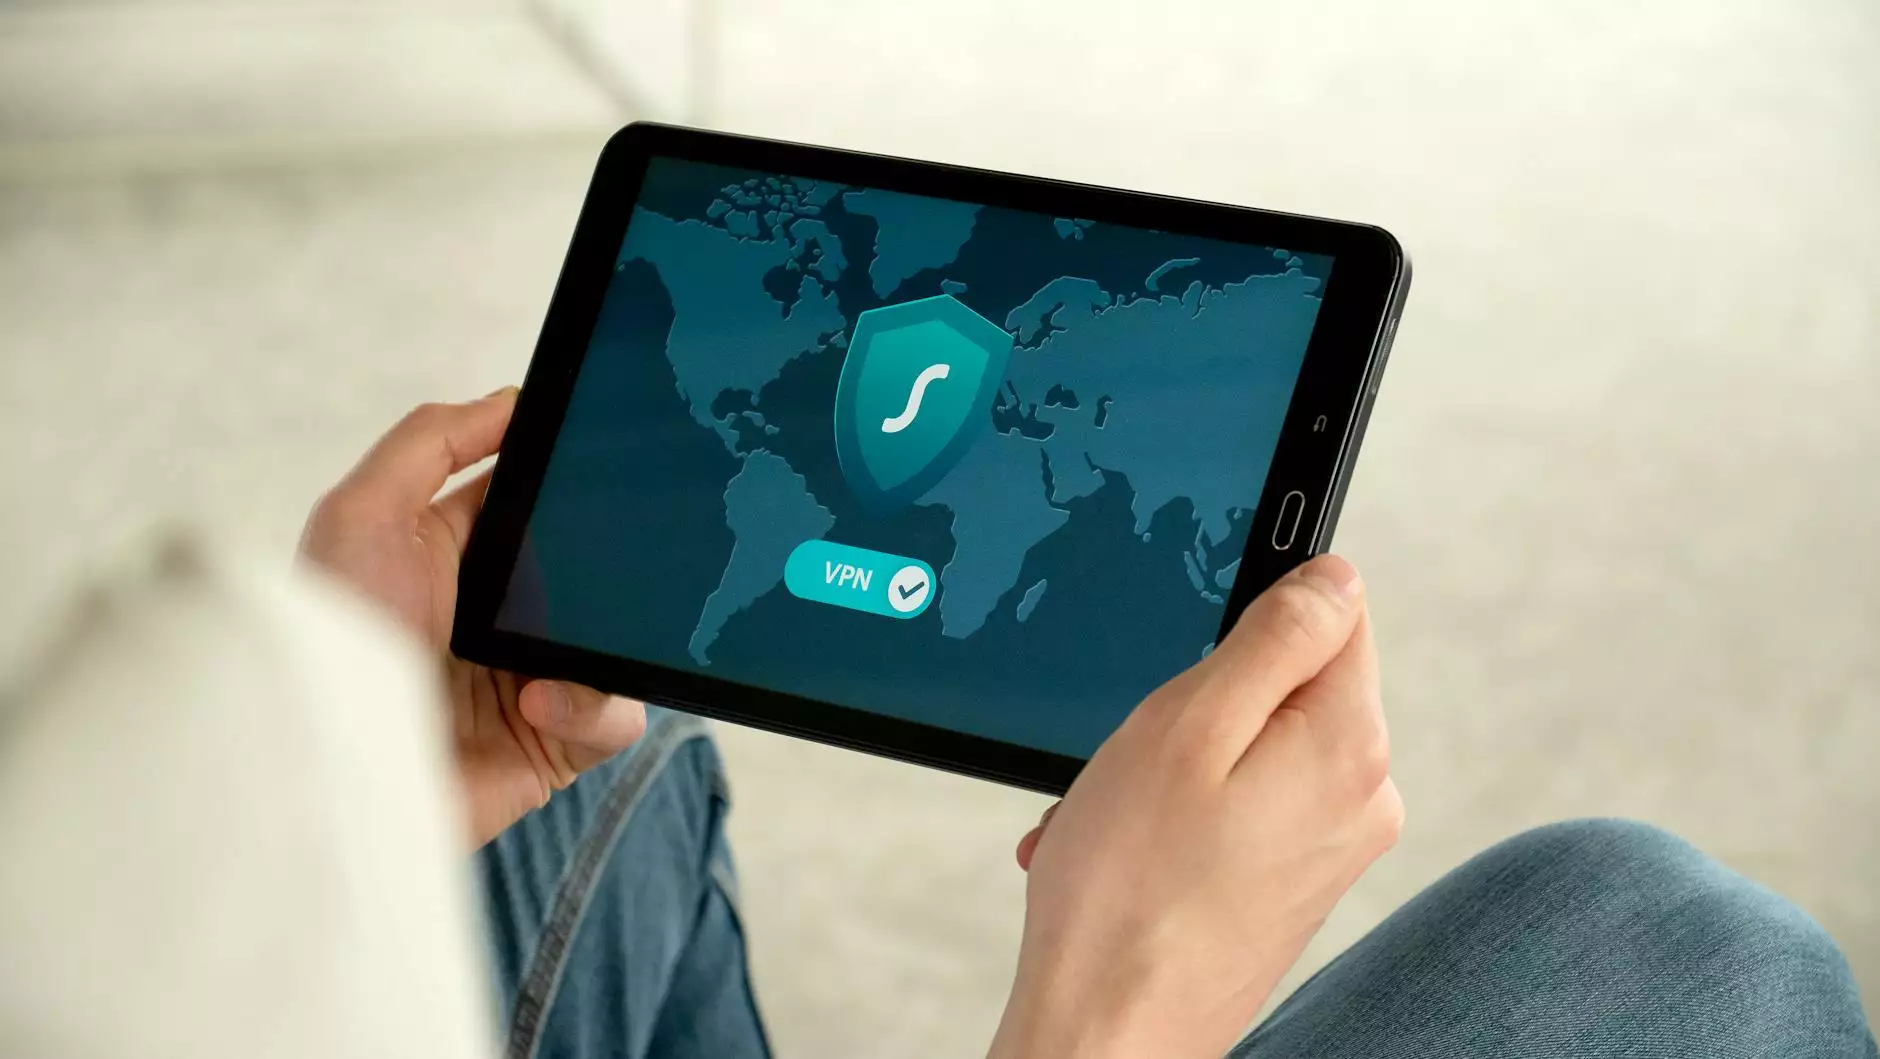
What is a VPN?
A VPN, or Virtual Private Network, is a service that creates an encrypted connection over a less secure network, allowing you to shield your online activity from prying eyes. It essentially creates a tunnel that protects your data and privacy.
Why You Should Use a VPN on Your Android Phone
There are several compelling reasons to use a VPN on your Android device:
- Enhanced Security: A VPN encrypts your internet connection, protecting your data from hackers and malicious entities.
- Anonymous Browsing: By masking your IP address, a VPN allows you to browse the internet anonymously.
- Access Restricted Content: A VPN enables you to bypass geographical restrictions and access content that may be blocked in your region.
- Public Wi-Fi Protection: Protect your data when connecting to public Wi-Fi networks, which are often susceptible to attacks.
Prerequisites for Setting Up a VPN Server on Android
Before diving into the setup process, ensure you have the following:
- An Android device with an active internet connection.
- A reliable VPN provider or the technical knowledge to create your own VPN server.
- The necessary permissions for your Android device.
How to Setup VPN Server on Android Phone
Now that you’re aware of the benefits and prerequisites, let’s explore the step-by-step process to setup VPN server on Android phone.
Step 1: Choose Your VPN Provider
Selecting a reliable VPN provider is crucial. Some popular options include:
- ExpressVPN: Known for its speed and robust security features.
- NordVPN: Offers a large server network and excellent privacy policies.
- ZoogVPN: A great option for users looking for a budget-friendly VPN with strong features.
Step 2: Download and Install the VPN Application
Visit the Google Play Store and download the application of your chosen VPN provider. Once downloaded, follow these steps:
- Open the installed VPN application on your Android device.
- Sign up or log in using your credentials.
- Grant the necessary permissions for the application to function properly.
Step 3: Configure VPN Settings
After installation, it’s time to configure the VPN settings for your Android phone:
- Open your VPN app and navigate to the settings menu.
- Select your preferred VPN protocol (e.g., L2TP, OpenVPN, IKEv2).
- Adjust your advanced settings if necessary. This may include enabling a kill switch or opting for split tunneling.
Step 4: Connect to the VPN Server
Once the configuration is complete, connecting to the VPN is straightforward:
- Return to the main dashboard of your VPN application.
- Select a server location that meets your needs (e.g., for accessing content in another country).
- Tap the “Connect” button.
Your device should now be connected to the VPN, encrypting your online data.
Setting Up a Personal VPN Server on Android
If you prefer setting up your own VPN server on your Android device, follow these detailed steps:
Step 1: Install a VPN Server Application
You can use applications like OpenVPN or WireGuard. Install the desired app on your Android phone from the Google Play Store.
Step 2: Configure the VPN Server Application
- Open the VPN server app and create a server configuration.
- Set your desired port and other relevant settings (encryption, user logs, etc.).
- Generate the necessary certificates and keys for secure connections.
Step 3: Adjust Firewall and Router Settings
To allow remote connections to your VPN server, you need to adjust your network settings:
- Forward the port you specified in your VPN app through your router.
- Modify firewall settings to permit incoming VPN connections.
Step 4: Connect to Your VPN Server
On your remote device, use your VPN client (like OpenVPN) to input the details of your new VPN server:
- Download the VPN client applicable for your operating system.
- Input your server’s public IP address, port, and user credentials.
- Connect to your VPN server using the client application.
Common Issues and Troubleshooting
Setting up a VPN can sometimes lead to issues. Here are some common problems and their solutions:
- Connection Issues: If you cannot connect, verify your internet connection and check your login credentials.
- Slow Speeds: Change the server location or try a different VPN protocol to enhance speed.
- Inaccessible Websites: Clear your browser’s cache and cookies or try a different browser.
FAQs about VPNs on Android
1. Is it legal to use a VPN?
In most countries, using a VPN is legal. However, some countries may have restrictions or regulations regarding VPN usage, so it’s essential to be aware of the local laws.
2. Can I use a free VPN on my Android phone?
While free VPNs may seem appealing, they often come with limitations such as data caps, slower speeds, and less secure connections. It’s generally advisable to opt for a reputable paid VPN service.
3. Will a VPN slow down my internet speed?
Using a VPN may result in a slight decrease in speed due to encryption processes. However, a good VPN provider optimizes their services to minimize this effect.
Conclusion
Setting up a VPN server on your Android phone is a smart way to enhance your privacy and security while browsing the internet. Whether you choose to use a commercial VPN service or set up your own server, understanding the process empowers you to take control of your online presence. By following this guide, you can confidently protect your data and enjoy unrestricted access to content around the globe.
For further information and high-quality VPN services, visit ZoogVPN to explore the options suited for your needs!