How to Use Bartender Label Design Software
Bartender label design software is a powerful tool for creating professional-quality labels that suit a variety of printing needs. Whether you're in the business of Printing Services, handling Electronics, or managing Computers, mastering this software can significantly enhance your productivity. This comprehensive guide will walk you through the essentials of using Bartender label design software effectively.
What is Bartender Label Design Software?
Bartender is a sophisticated label design tool created by Seagull Scientific. It allows users to design, print, and manage labels efficiently. The software is renowned for its user-friendly interface and extensive features, making it an ideal choice for both beginners and professionals. Some of its notable capabilities include:
- Dynamic Variable Information: Insert variable data into your labels, like barcodes, text, and images.
- Integration with Data Sources: Connect to databases, ERP systems, and spreadsheets to automate your label printing.
- Versatile Formatting Options: Customize your label layouts with various fonts, colors, and graphics.
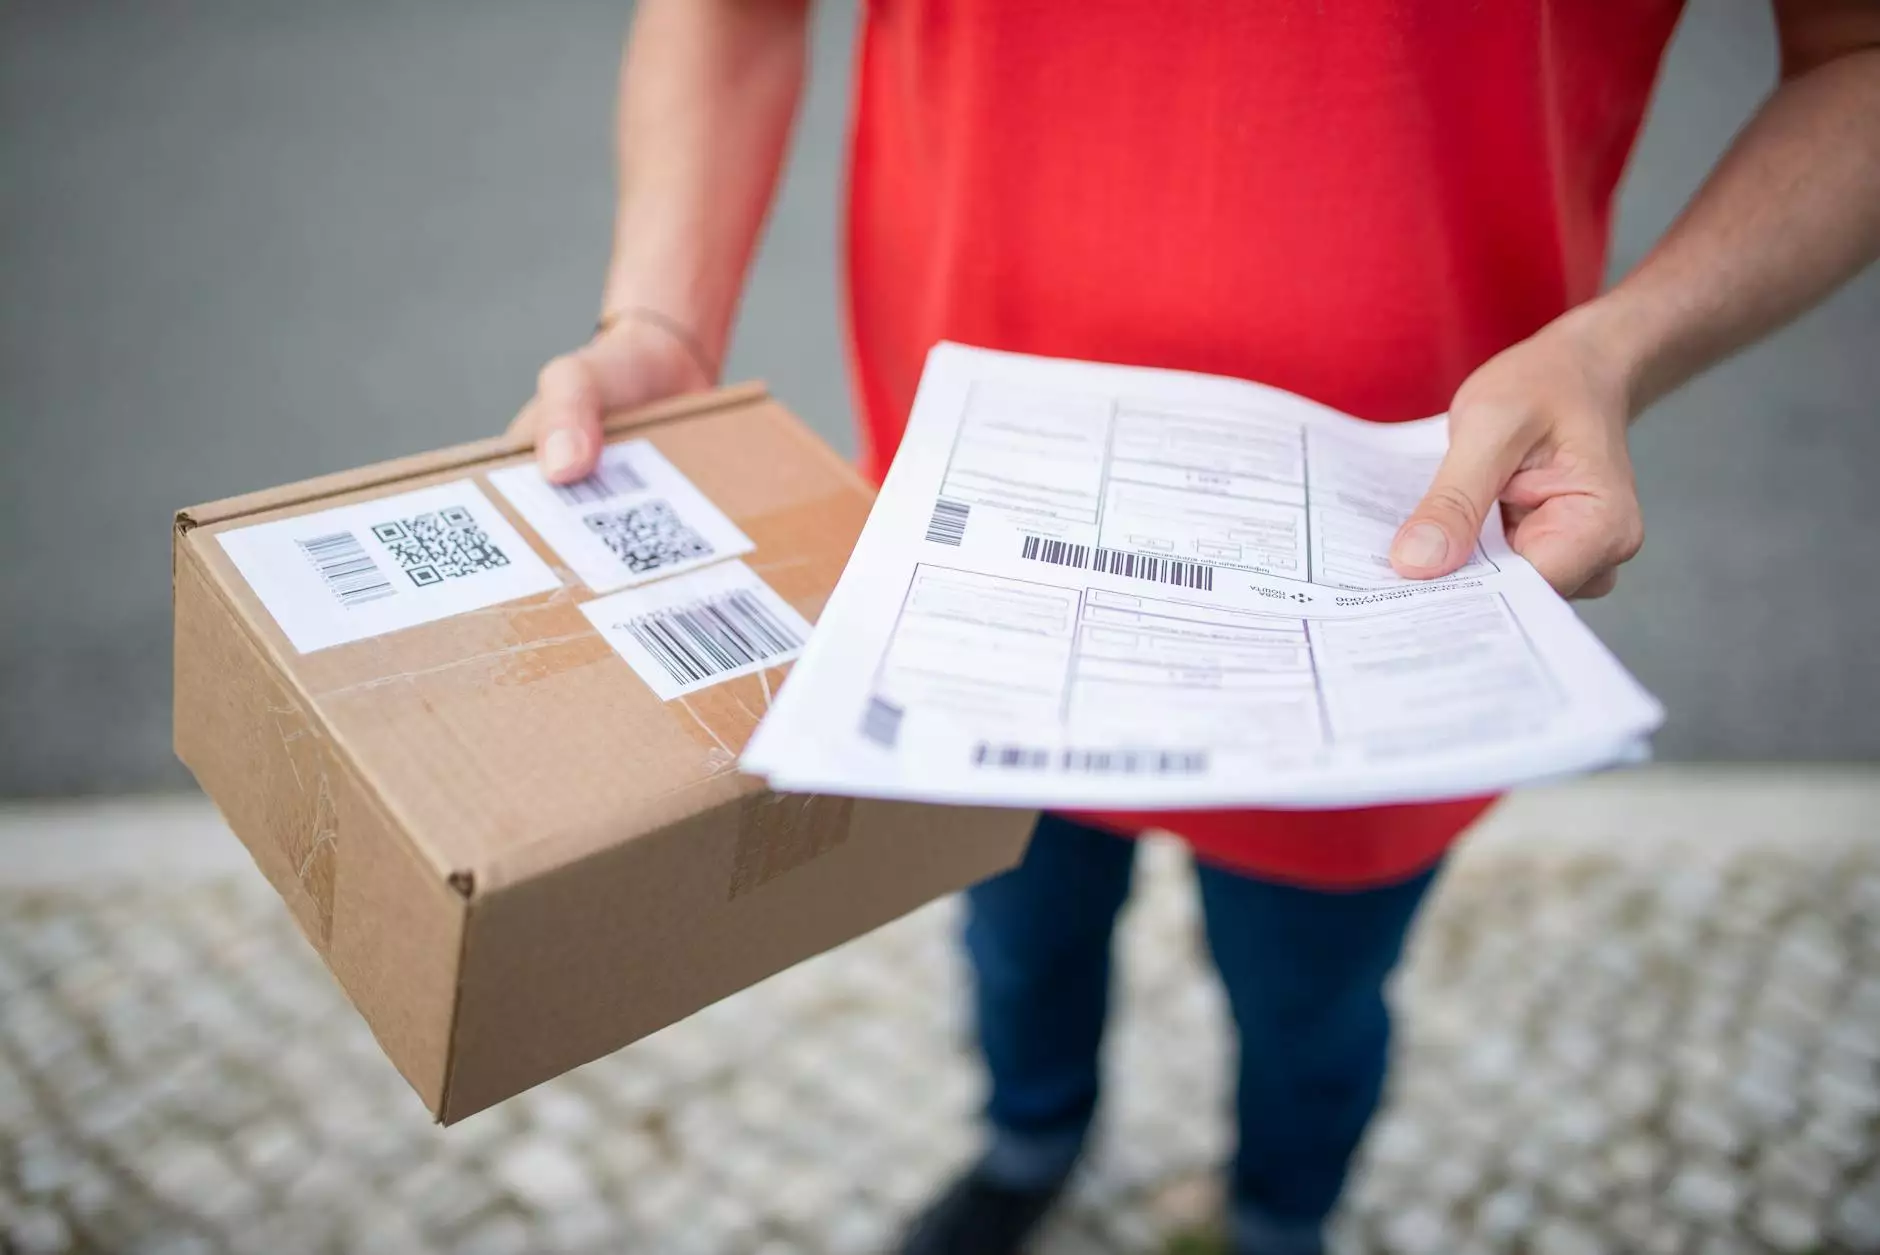
- Barcode Support: Create and manage a wide array of barcodes and QR codes suitable for different industries.
Getting Started with Bartender
Before diving into label design, it’s essential to set up Bartender and familiarize yourself with its interface. Follow these steps:
Step 1: Installation
Begin by downloading the latest version of Bartender from the official Seagull Scientific website. After downloading, follow the on-screen instructions to complete the installation. It’s advisable to check system requirements to ensure compatibility with your computer.
Step 2: Interface Overview
Once installed, open Bartender. You will be greeted with a clean, intuitive dashboard. Familiarize yourself with its key components:
- Toolbar: Houses essential tools for designing and editing labels.
- Design Area: The workspace where you design your labels.
- Data Source Panel: Where you connect your data inputs for dynamic labeling.
- Preview Window: Allows you to see how your finished label will look.
Designing Your First Label
After setting up, it’s time to put your creativity to work. Here’s how to design your first label:
Step 3: Creating a New Label
To start a new project, go to File > New. You will be prompted to choose from predefined label templates or create a custom label size.
Step 4: Setting Label Dimensions
If you’re creating a custom label, specify the dimensions in the dialog box. You can also choose the label type (e.g., roll, sheet) and orientation.
Step 5: Adding Text and Images
To add text, select the Text Tool from the toolbar. Click on the design area and type your content. You can format the text using the properties panel to change font styles, sizes, and colors. To add images, use the Picture Tool. Simply upload images from your files to the label.
Step 6: Incorporating Barcodes
Integrating barcodes is a breeze. Click the Barcode Tool, select your desired barcode type, and draw it on the label. You can link it to data fields to ensure it reflects dynamic information from your data source.
Step 7: Using the Data Source
To connect your label to a data source, navigate to the Data Source Setup. You can choose to import data from CSV files, databases, or various applications. This feature is vital for high-volume printing operations that require variable data on labels.
Advanced Features of Bartender
Bartender is not just about basic label design. Here are some advanced features that can significantly enhance your labeling process:
Templates and Reusable Designs
Creating templates for common label designs can save you valuable time. After designing a label, save it as a template for future use. This way, you can maintain consistency across different products while streamlining your workflow.
Automation and Integration
Bartender excels in automation. You can set up triggers based on data changes, allowing the software to print labels automatically without manual input. Moreover, the software can integrate with other systems like ERP for seamless data flow.
Custom Scripts and Scripts
If you’re technically inclined, explore Bartender’s scripting capabilities to create custom functionality. You can write scripts to enhance label functionality, automate tasks, and process data dynamically based on specific conditions.
Best Practices for Label Design
To ensure your labels are both functional and aesthetically pleasing, adhere to these best practices:
1. Prioritize Readability
Your text should be legible at all sizes. Choose fonts that are clear and maintain adequate contrast with the background color.
2. Keep it Simple
Avoid overcrowding your label with too much information. Focus on essential details and use white space effectively.
3. Test Print Before Large Runs
Always conduct a test print before engaging in large-scale printing. Check for errors and verify that all dynamic fields are populating correctly.
4. Use Quality Materials
Ensure that you’re using high-quality labels and inks to enhance durability and ensure vibrancy in color. This is particularly important in applications involving exposure to elements.
Conclusion
By mastering the use of Bartender label design software, businesses involved in Printing Services, Electronics, and Computers can greatly improve their labeling processes. From creating dynamic labels integrated with databases to optimizing your design through best practices, Bartender provides a comprehensive suite of tools tailored for your needs. Follow the outlined steps in this guide, experiment with the features, and soon you will be designing flawless labels that enhance your brand’s image and efficiency.
For further assistance, track down tutorials and community forums dedicated to Bartender software, which can provide additional insights and tips from seasoned users.
how to use bartender label design software